
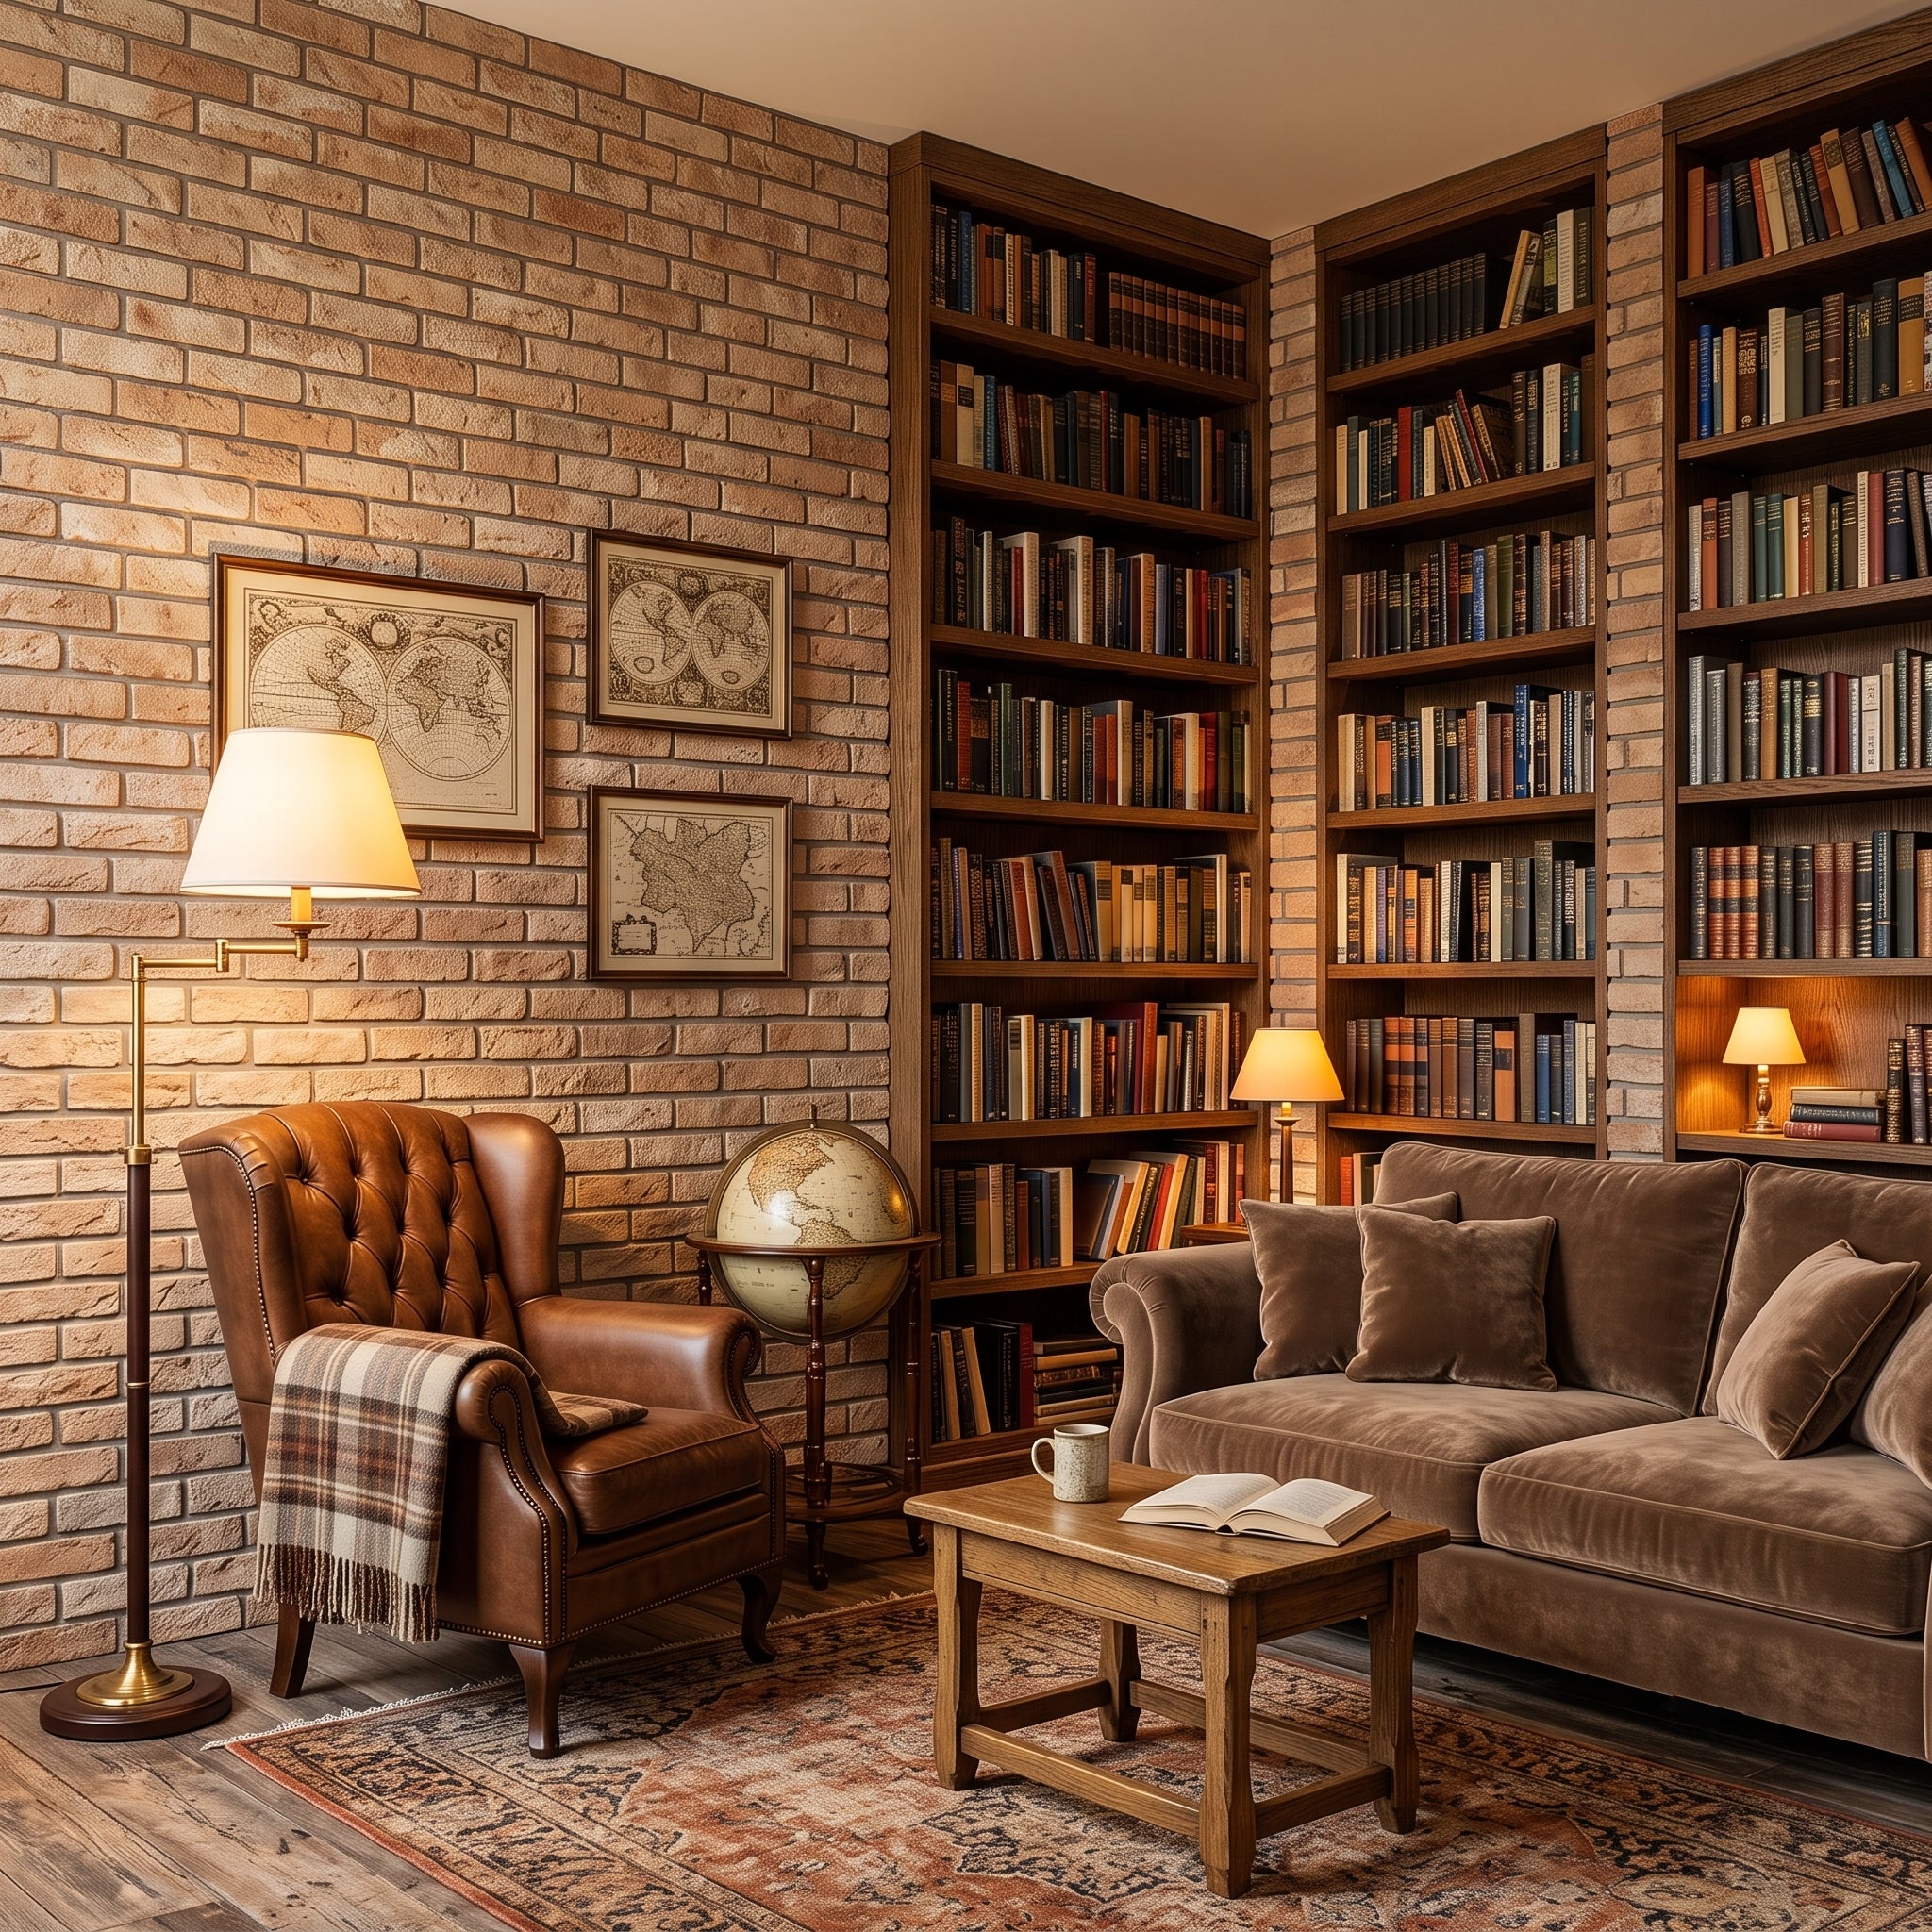
EZ BRICK INSTALLATION GUIDE
Complete step-by-step instructions from surface preparation and panel placement to grouting, tooling, and long-term care.
Surface Preparation
EZ Brick can be installed over most surfaces, though some may require preparation. For standard painted drywall, follow the steps below:
- Remove Fixtures & Protect: Remove outlet covers, thermostats, wall décor, and any removable fixtures. Use painter’s tape to protect items that cannot be removed, such as vents or adjacent walls.
- Score Baseboards: Remove baseboards and trim by scoring the caulk line with a utility knife.
- Gently Pry Trim: Gently pry the baseboards away from the wall using a pry bar and hammer, working gradually to avoid wall damage.
- Protect the Floor: Protect the floor by laying down plastic sheeting and securing it with tape for easy cleanup.
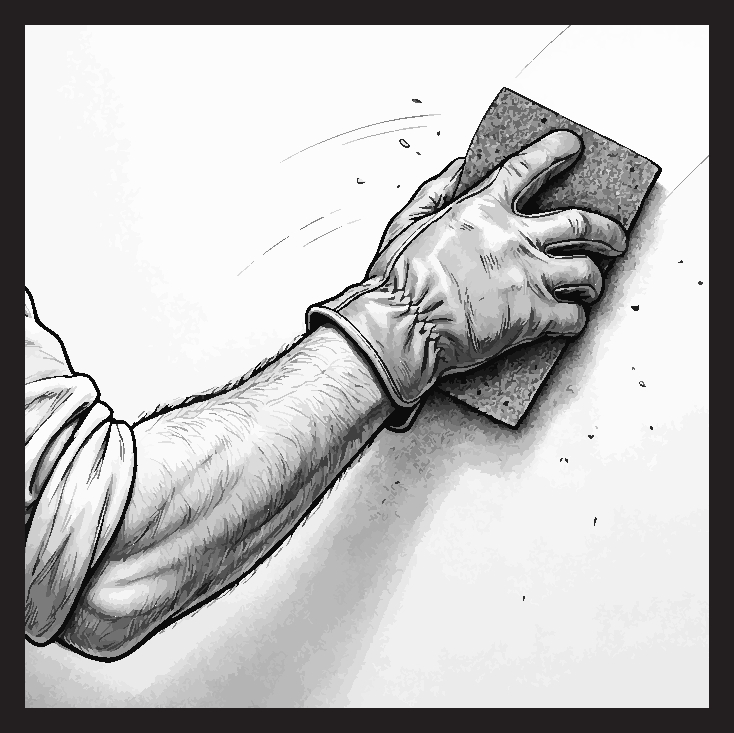
- Lightly Sand Paint: Lightly sand painted surfaces using 80-grit sandpaper in a circular motion to roughen the surface for improved adhesion. Heavy pressure is not necessary.
- Wipe Away Dust: Once sanding is complete, wipe the wall thoroughly with a dry cloth or duster to remove all dust.
Installing EZ Brick Panels
EZ Brick panels are designed for quick and easy installation. In addition to EZ Brick, you will need tile mastic adhesive, a ¼” notched trowel, tin snips (or heavy-duty scissors), pencil, level, measuring tape, painter’s tape, and a floor tarp.
- 21" Reference Lines: Starting at the top of the wall, measure downward in 21” increments. Use a level to mark horizontal reference lines across the wall.
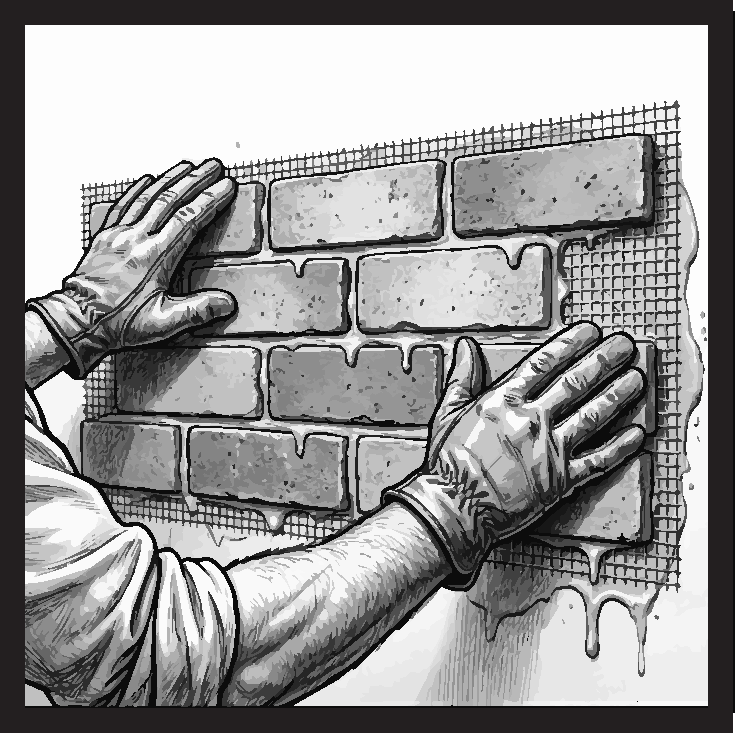
- Spread & Comb Adhesive: Apply tile mastic adhesive generously using the flat side of the trowel, then comb the adhesive with the notched side to remove excess.
- Top Corner Start: Begin installation in a top corner and work horizontally. Firmly press the first EZ Brick panel into the adhesive so it pushes through the mesh backing. Ensure the panel is level and adjust as needed while the adhesive is wet.
- Overlap & 1/2" Grout Gap: Install the next sheet by overlapping slightly, maintaining a ½” gap between bricks for grout. Continue across the wall.
- Slippage Stabilization: If a sheet slips, insert a drywall nail through the mesh backing to temporarily hold it in place.
- Custom Edge Trimming: To fill gaps at the ends of walls, individual brick pieces may be removed from a panel and cut to size using tin snips.
- 24-Hour Cure Time: Allow the EZ Brick installation to cure for at least 24 hours before grouting.
Grouting
After the EZ Brick panels have cured for at least 24 hours, the joints are ready for grouting. We recommend using a preblended Type S masonry mortar mix. The EZ Brick grouting method uses a relatively dry, damp-soil consistency that allows the mortar to be packed directly into the joints with a masonry hawk and tuck-pointing trowel. Because mortar formulations vary by manufacturer, the amount of water required may vary. Add water gradually while mixing until the proper consistency is achieved and always follow the mortar manufacturer's requirements and safety instructions.
- Squeeze Test Consistency: Check the consistency by squeezing a handful of mortar firmly in your hand. Properly mixed mortar should form a compact ball that holds its shape without feeling wet or sticky. If it crumbles apart easily, add a small amount of water and mix again. If it smears or sticks heavily to your hand, the mixture is too wet.
- Mix Working Batches: Mix only as much mortar as you can comfortably use within the working time specified by the manufacturer.
- Pack Mortar with Hawk & Tuck Pointer: Place a small amount of mortar on a masonry hawk. Using a tuck-pointing trowel, press and pack the mortar firmly into the joints between the bricks, completely filling each joint.
- Slightly Overfill Joints: Slightly overfill the joints to provide enough material for proper compaction and tooling.
- Tool with Concave Jointer: Once the mortar has begun to firm, use a concave brick jointer to compact and shape the joints. At the proper consistency, excess mortar should break away cleanly rather than smear across the brick face.
- Reuse Fallen Excess Mortar: If an area needs additional mortar, use some of the excess mortar that has fallen away during tooling and press it into the joint. This helps maintain a consistent moisture level throughout the section.
- Brush Loose Mortar & Crumbs: After the mortar has set sufficiently, brush away loose mortar and crumbs with a masonry brush. If the mortar smears or leaves streaks on the brick surface, it is still too wet; allow additional drying time before brushing.
- Complete the Wall: Continue across the wall until all joints have been filled, tooled, and cleaned.
The 3-Phase Grouting & Finishing Process
Follow the sequence below across each section of your wall for authentic masonry joint lines.
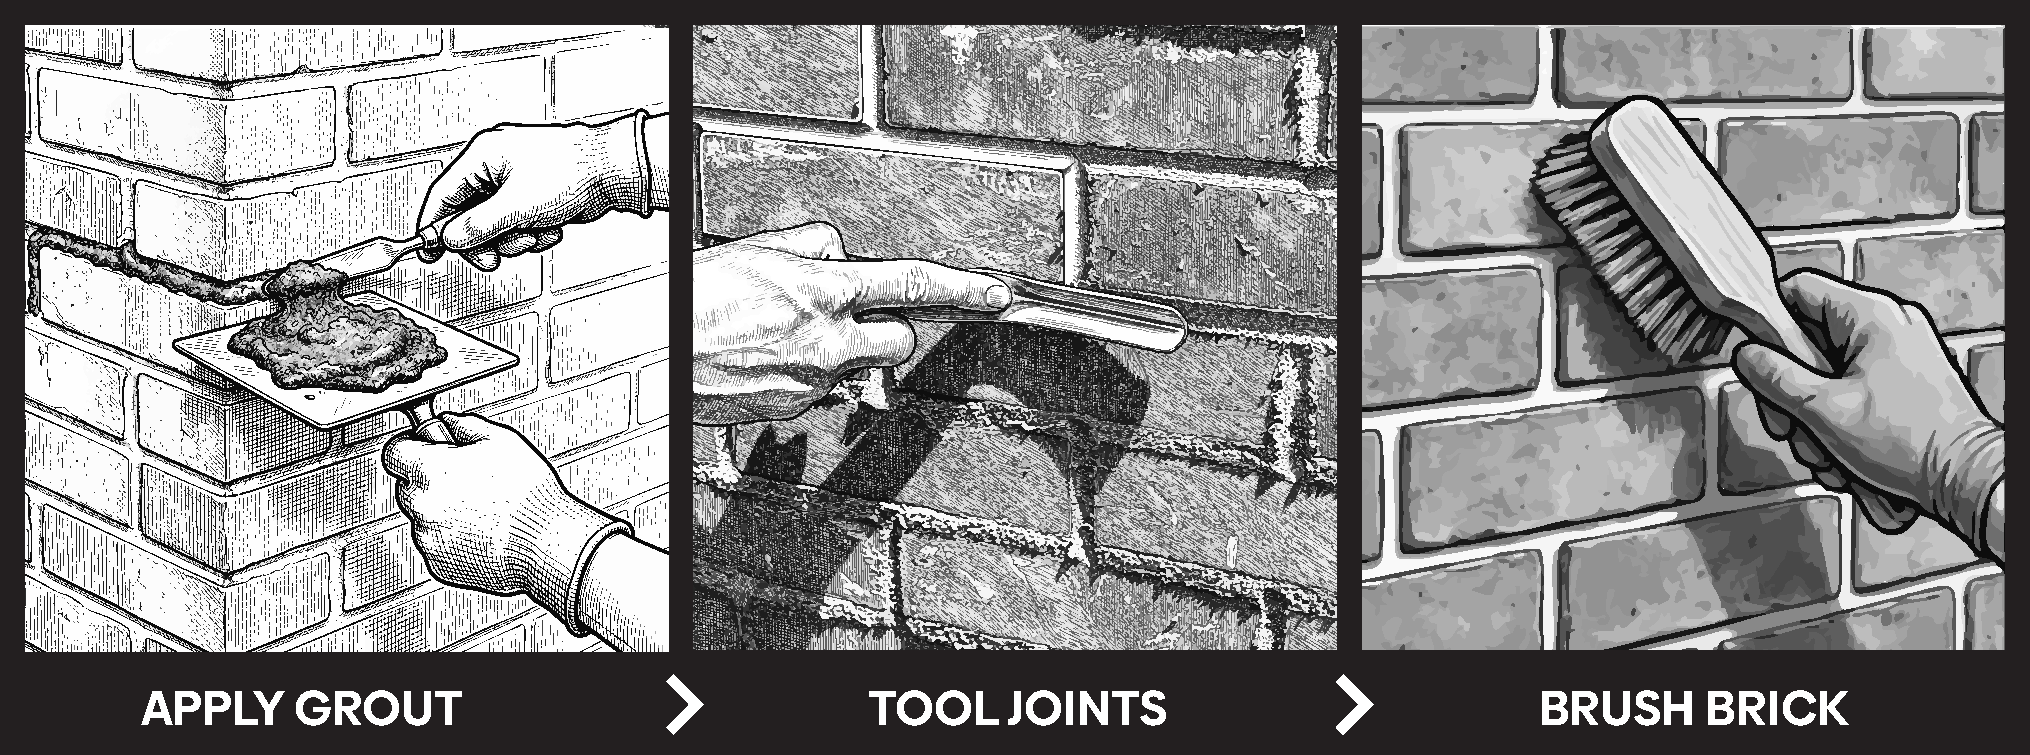
Place a small amount of mortar on a masonry hawk. Using a tuck-pointing trowel, press and pack damp mortar firmly into the joints between the bricks, completely filling each joint and slightly overfilling.
Once the mortar has begun to firm, use a concave brick jointer to compact and shape the joints. At the proper consistency, excess mortar breaks away cleanly rather than smearing across the brick face.
After the mortar has set sufficiently, brush away loose mortar and crumbs with a soft masonry brush. If the mortar smears or leaves streaks on the brick surface, allow additional drying time before brushing.
CARE & MAINTENANCE
EZ Brick veneer is virtually maintenance-free. Follow these simple guidelines to keep your brick feature wall looking timeless and pristine for decades:
Routine Dusting & Cleaning
For routine cleaning, use a dry whisk broom or a soft bristle brush to gently remove surface dust, cobwebs, and debris.
Deeper Spot Cleaning
For deeper cleaning in kitchen backsplashes or high-traffic areas, use a mild detergent mixed with warm water and a soft damp cloth.
What to Avoid
Do not use harsh chemicals, acids, muriatic acid, abrasive tools, wire brushes, or power washers, as these may damage the veneer texture and color.
Bring the Warmth of Vintage Brick to Your Home
Order our 6-color sample box to test real finishes against your lighting, explore our full catalog of handcrafted mesh panels, or watch the 3D animated installation walkthrough.